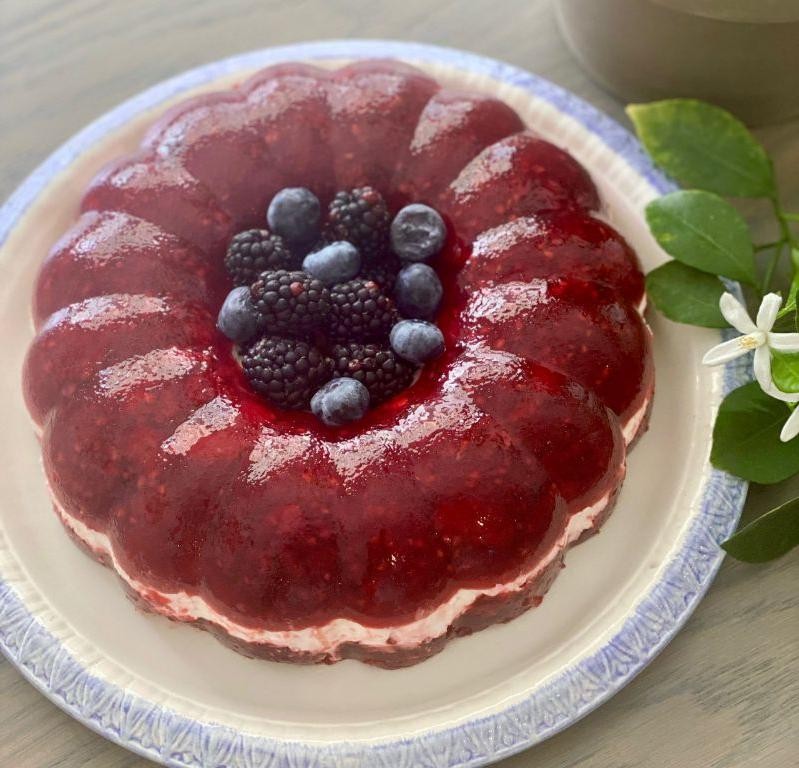
Embrace the Wobble: Mastering Rainbow Jello Molds for Stunning Desserts
Step into a world where desserts don't just taste good—they dazzle with color and bring a wave of nostalgia! Rainbow layered jello molds are experiencing a delightful resurgence, transforming humble gelatin into vibrant, eye-catching centerpieces for any occasion. Forget the notion of jello being a relic of the past; these wiggly-jiggly creations are proof that a classic jello mold recipe can be both retro and refreshingly modern, sparking smiles and conversation at any table.
Whether you're planning a festive party, a birthday celebration, or simply want to add a burst of joy to your family dinner, mastering a rainbow jello mold is easier than you think. This guide will walk you through the surprisingly simple steps to create a showstopping dessert that's as fun to make as it is to eat, complete with expert tips to ensure your layers are perfectly distinct and your presentation flawless.
Why Rainbow Jello Molds are a Must-Try Dessert
The allure of a rainbow jello mold goes far beyond its vibrant appearance. It’s a multi-sensory experience that captures the imagination of both young and old. Here’s why this classic dessert deserves a place in your culinary repertoire:
- Nostalgic Charm: For many, jello molds evoke cherished childhood memories of family gatherings and celebrations. Reintroducing them is a delightful way to revisit those warm feelings.
- Unmatched Visual Appeal: Let's face it – few desserts boast the inherent 'wow' factor of perfectly layered, translucent colors. It’s an instant centerpiece that draws the eye and brightens any spread.
- Surprisingly Simple: Despite their elaborate appearance, rainbow jello molds are fundamentally straightforward. The process relies on patience and chilling time, not complex baking skills.
- Kid-Friendly Fun: Kids adore the colors, the jiggly texture, and the sweet flavors. It’s also a fantastic project to involve little helpers in the kitchen (with adult supervision, of course!).
- Customizable: From flavor combinations to dietary adjustments (like sugar-free options), jello is incredibly versatile. You can tailor your creation to any preference or theme.
The Ultimate Rainbow Layered Jello Mold Recipe: Step-by-Step for Success
This comprehensive jello mold recipe will guide you through creating a stunning rainbow masterpiece. Remember, patience is your secret ingredient!
What You'll Need:
Ingredients:
- 6 (3-ounce) packages of assorted flavored gelatin (e.g., strawberry, orange, lemon, lime, blue raspberry, grape)
- 4 cups boiling water, divided
- 4 cups cold water, divided
- 1 (14-ounce) can sweetened condensed milk
- 2 envelopes unflavored powdered gelatin (Note: Only 1 envelope is used for the white layers in this specific recipe, saving the second for future jello adventures or if you prefer thicker white layers)
- 1 cup cold whole milk
- Neutral-flavored oil spray (e.g., vegetable or canola oil)
Equipment:
- 12-cup Bundt pan or other decorative jello mold
- Medium heatproof bowls (at least 6, or fewer if you wash between colors)
- Small saucepan
- Whisk
- Measuring cups and spoons
- Plastic wrap
- Large serving plate
Detailed Instructions:
- Prepare Your Mold: Lightly grease the inside of your 12-cup Bundt pan with a neutral-flavored oil spray. This crucial step ensures easy release later and prevents sticking. Use a paper towel to wipe out any excess oil, leaving only a thin film.
- First Colored Layer: Choose your first colored gelatin. Empty one package into a medium heatproof bowl. Add 1 cup of boiling water and whisk vigorously for 2 full minutes, ensuring all gelatin granules are completely dissolved. It's vital there are no undissolved bits for a clear layer.
- Cool the Gelatin: Stir 1 cup of cold water into the dissolved gelatin mixture until fully incorporated. This helps cool it down to prevent it from melting subsequent layers.
- Pour the First Layer: Carefully pour this first colored mixture into the prepared Bundt pan. Tilt the pan gently to coat the bottom evenly.
- Chill to Set: Transfer the pan to the refrigerator and chill for 25–30 minutes, or until the layer is completely set and firm to a light touch. It should feel slightly tacky but not stick to your finger.
- Prepare the Creamy White Layer Mixture: While your first colored layer is chilling, prepare the communal white layer mixture. Sprinkle 1 envelope of unflavored gelatin over 1/2 cup of cold whole milk in a small saucepan. Let it sit for 5 minutes to "bloom" or soften – this prevents lumps.
- Dissolve Unflavored Gelatin: Gently heat the milk and bloomed gelatin mixture over low heat, stirring constantly for 3–4 minutes until the gelatin is fully dissolved and the liquid is clear. Do not let it boil, as boiling can reduce gelatin's setting power.
- Combine for Creaminess: Whisk the warm gelatin mixture into the can of sweetened condensed milk until smooth and homogenous.
- Finish White Mixture: Stir in the remaining 1/2 cup of cold whole milk to create a uniform, creamy white layer mixture. This batch will be used for all your white layers.
- First White Layer: Once your first colored layer is set (step 5), slowly pour about 3/4 cup of the white mixture over it. Pouring gently, perhaps over the back of a spoon, helps prevent disturbing the set colored layer.
- Chill the White Layer: Return the pan to the refrigerator and chill for 20–25 minutes, until the white layer is firm and set.
- Repeat & Layer: Repeat steps 2–5 and 10–11 with the remaining flavored gelatin packages and the white mixture. Alternate colors and white layers until all six colors are used, ending with a final colored layer on top. Ensure each layer is properly set before adding the next.
- Final Chill: After adding the final layer, cover the pan tightly with plastic wrap and refrigerate for at least 4 hours, or preferably overnight. This extended chill is crucial for the entire mold to set completely and hold its shape.
- Unmolding Your Masterpiece: To unmold, first run a thin knife around the top edge of the jello where it meets the pan. Briefly dip the bottom of the pan into a bowl of warm water for 10–15 seconds. This warms the outside slightly, loosening the jello.
- Invert and Serve: Place a large serving plate upside-down over the top of the Bundt pan. With a swift, confident motion, invert the pan and plate together. Gently lift the pan. If it doesn't release immediately, you can gently jiggle the pan or lightly tap it.
Mastering the Art: Pro Tips for Perfect Jello Molds
While the steps are simple, a few expert tips can elevate your rainbow jello mold from good to absolutely glorious:
- Precision is Key for Chilling: The most common mistake is rushing the chilling process. Each layer *must* be fully set before adding the next. If a layer is too soft, the new liquid layer will mix or bleed, ruining your distinct lines. A good test: gently touch the surface with a fingertip; it should feel firm and not stick.
- The Gentle Pour: Always pour new liquid layers very gently. Pouring over the back of a spoon held close to the surface can help diffuse the liquid and prevent it from creating depressions or cracks in the layer below.
- Temperature Matters: Ensure your colored gelatin mixtures have cooled down sufficiently with cold water before pouring. If they are too warm, they can melt the already set layer beneath them.
- Greasing the Mold Correctly: A neutral-flavored oil spray is best. Avoid strong-smelling oils or too much oil, as it can affect taste and leave a greasy residue. A light, even coating is all you need.
- Don't Boil Unflavored Gelatin: When dissolving the unflavored gelatin for your white layers, low heat is essential. Boiling can degrade its gelling properties, leading to a runny white layer.
- Adjusting White Layer Thickness: The recipe suggests 3/4 cup per white layer. If your total white mixture seems like it won't yield enough for 5 distinct layers, simply reduce the amount slightly per layer (e.g., 1/2 cup per layer) to ensure you have enough to go around.
- Experiment with Color Order: While a classic rainbow follows ROYGBIV, feel free to play with the order to create unique visual effects. Consider complementary colors or a gradient fade.
Beyond the Colors: Customizing and Troubleshooting Your Creation
Once you've mastered the basic rainbow, the world of jello molds opens up for customization. Consider:
- Flavor Combinations: Mix and match gelatin flavors. Try tropical blends, berry fusions, or citrus explosions. You can even add a few drops of food coloring to enhance the vibrancy if desired.
- Adding Inclusions: For a delightful surprise, add fresh fruit pieces (like mandarin oranges, berries, or grapes) to the colored layers once they are partially set. Avoid pineapple, kiwi, or papaya, as their enzymes prevent gelatin from setting.
- Different Molds: While a Bundt pan creates a beautiful ring, experiment with other decorative jello molds, loaf pans, or even individual ramekins for single servings.
- Dietary Adaptations: Many brands offer sugar-free gelatin, allowing you to create a lighter version of this colorful dessert without sacrificing flavor or fun.
Common Pitfalls & Quick Solutions:
- Layers Bleeding Together: This is almost always due to not chilling layers long enough, or pouring the next layer while it's too warm. Ensure each layer is firm, and your subsequent liquids are cooled.
- Difficulty Unmolding: If your jello sticks, it's likely the mold wasn't sufficiently greased, or the warm water dip wasn't quite right. Try re-dipping in warm water for a few more seconds, ensuring the water doesn't come over the top of the jello. A gentle push around the edges with your fingertips (if accessible) can also help create an air pocket.
- Cloudy Layers (besides the white): This can happen if gelatin isn't fully dissolved or if the mixture is over-whisked, incorporating too much air. Whisk thoroughly but gently.
Conclusion
Creating a rainbow layered jello mold is more than just following a recipe; it's an act of playful artistry that results in a dessert that's truly unforgettable. With patience, a little attention to detail, and the tips outlined above, you'll be able to confidently recreate this classic. So go ahead, embrace the jiggly magic, and brighten your next gathering with a stunning, homemade rainbow jello mold. It's a sweet, colorful journey that promises delicious rewards!
