Brighten Your Table: The Enduring Appeal of Colorful Jello Molds
Welcome to a world where desserts don't just taste good, they dazzle! If you're searching for a unique way to elevate your next gathering or simply want to add a splash of joy to your family dinner, look no further than the humble yet spectacular
jello mold recipe. These vibrant, wiggly creations are making a significant comeback, transcending their retro roots to become modern showstoppers. From nostalgic childhood favorites to sophisticated, layered masterpieces, a well-executed jello mold promises smiles, sparks conversation, and adds an undeniable festive touch to any table. They offer a playful alternative to traditional desserts, inviting both kids and adults to rediscover the fun in food. For more inspiration on classic takes, dive into
Wiggly-Jiggly Fun: Rediscover Classic Jello Mold Recipes.
Jello molds are incredibly versatile, allowing for endless creativity in terms of color, flavor, and texture. Whether you prefer fruity layers, creamy swirls, or a combination of both, there's a
colorful jello mold recipe waiting to be discovered. They’re surprisingly simple to prepare, making them an accessible project for home cooks of all skill levels, yet they deliver an impressive visual impact that belies their ease.
Crafting a Showstopper: The Rainbow Layered Jello Mold Recipe
Perhaps the most iconic and visually stunning of all is the Rainbow Layered Jello Mold. This impressive dessert, with its alternating bands of vibrant color and creamy white, is a true celebration centerpiece. It's a testament to patience and simple technique, yielding a dessert that's as delightful to look at as it is to eat. Here’s a detailed guide to creating this spectacular
jello mold recipe. For a deeper dive into mastering this specific dessert, check out
Master Rainbow Jello Molds: Easy Steps for Stunning Desserts.
Yields: 12 servings
Prep Time: Approximately 45 minutes (active)
Chill Time: At least 4 hours, preferably overnight
Ingredients:
- 6 (3-ounce) packages assorted flavored gelatin (e.g., strawberry, orange, lemon, lime, blue raspberry, grape – choose your favorite rainbow colors!)
- 4 cups boiling water, divided
- 4 cups cold water, divided
- 1 (14-ounce) can sweetened condensed milk
- 2 envelopes unflavored powdered gelatin
- 1 cup cold whole milk
- Neutral-flavored oil spray (for greasing the mold)
Equipment:
- 12-cup Bundt pan or similar decorative mold
- Medium heatproof bowls
- Small saucepan
- Whisk
- Measuring cups and spoons
Instructions:
- Prepare Your Mold: Lightly grease your 12-cup Bundt pan with a neutral-flavored oil spray. This crucial step ensures easy release later and preserves the intricate details of your mold.
- First Colored Layer: Choose your first desired color. In a medium heatproof bowl, dissolve one package of flavored gelatin in 1 cup of boiling water. Whisk vigorously for at least 2 full minutes to ensure all granules are completely dissolved. This prevents grainy texture.
- Cool the First Layer: Stir in 1 cup of cold water into the dissolved gelatin mixture until fully incorporated. The cold water helps cool the mixture, speeding up the setting process.
- Pour and Chill: Carefully pour this first colored layer into your prepared Bundt pan, tilting the pan gently to coat the bottom evenly. Refrigerate for 25–30 minutes, or until the layer is fully set and firm to a light touch. Do not over-chill, as this can sometimes lead to layers separating later.
- Prepare the White Layer Base: While your first colored layer chills, begin preparing the creamy white layer. In a small saucepan, sprinkle 1 envelope of unflavored powdered gelatin over 1/2 cup of cold whole milk. Let it sit for 5 minutes to "bloom" or soften – this is vital for smooth dissolution.
- Dissolve Unflavored Gelatin: Gently heat the milk and bloomed gelatin mixture over low heat, stirring constantly for 3–4 minutes until the gelatin is fully dissolved and the liquid appears clear. Crucially, do not let it boil, as this can weaken the gelatin's setting power.
- Create the Creamy White Mixture: Whisk the warm, dissolved gelatin mixture into the can of sweetened condensed milk until completely smooth and homogenous. Then, stir in the remaining 1/2 cup of cold whole milk. This creates your luscious, opaque white layer.
- Add the White Layer: Once your first colored layer is firm, slowly and gently pour approximately 3/4 cup of the creamy white mixture over it. Pouring over the back of a spoon can help prevent indentations in the set layer below. Return the pan to the refrigerator and chill for 20–25 minutes, or until this white layer is firm and set.
- Repeat & Layer: Repeat steps 2–5 for each remaining flavored gelatin package and steps 10–11 for the white mixture, alternating colors and white layers until all six colors are used. Always finish with a colored layer on top. The key here is patience, ensuring each layer is adequately set before adding the next.
- Final Chill: After adding the final layer, cover the pan tightly with plastic wrap and refrigerate for a minimum of 4 hours, or preferably overnight. This extended chill time allows the entire mold to set completely, ensuring structural integrity.
- Unmolding Your Masterpiece: To unmold, briefly dip the bottom of the Bundt pan into a bowl of warm (not hot!) water for 10–15 seconds. This gently loosens the edges. Ensure no water gets into the mold.
- Invert and Serve: Place a large serving plate upside-down over the top of the Bundt pan. Holding both firmly, swiftly flip the pan and plate together. The jello mold should release onto the plate. If it doesn't, gently lift one edge of the mold to allow air to enter, which helps release the suction. Serve immediately and enjoy the oohs and aahs!
Beyond the Rainbow: Creative Twists on Your Jello Mold Recipe
While the rainbow mold is a classic, the world of
jello mold recipes extends far beyond vibrant stripes. Get creative with these ideas to tailor your dessert to any theme or taste preference:
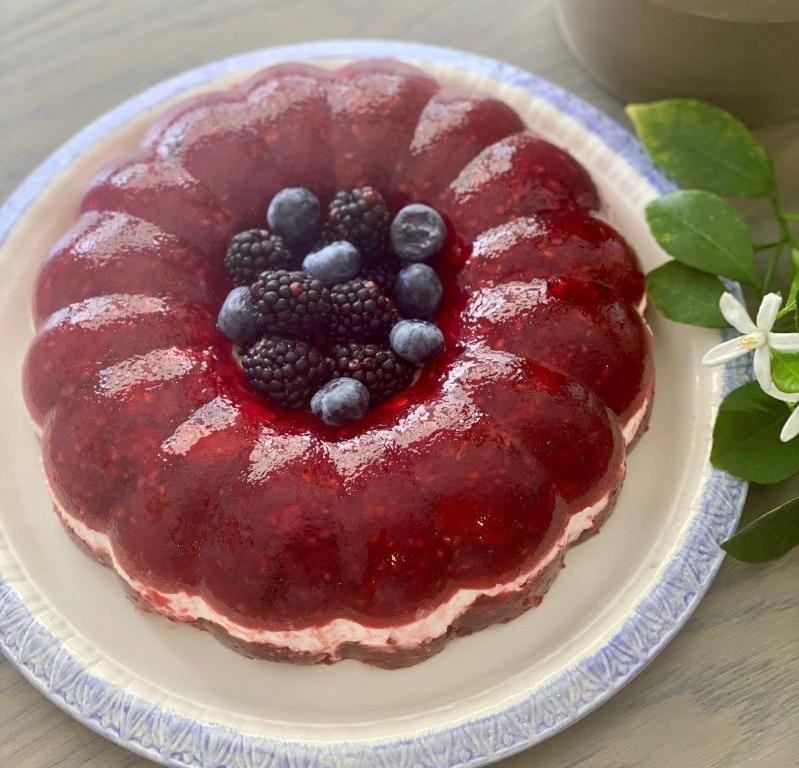
- Fruited Delights: Incorporate fresh or canned fruits into your layers. Berries, mandarin oranges, grapes, and sliced peaches work wonderfully. A critical tip: avoid fresh pineapple, kiwi, figs, or papaya directly in gelatin, as their enzymes prevent gelatin from setting. Canned versions of these fruits, however, are fine since the enzymes are denatured during processing.
- Creamy Indulgences: Experiment with different creamy layers. Instead of sweetened condensed milk, consider using sour cream for a tangy contrast, cream cheese for a cheesecake-like layer, or even whipped cream folded into a cooled gelatin mixture for a lighter, airy texture. A touch of vanilla extract or almond extract can also elevate the creamy layer's flavor profile.
- Seasonal & Themed Molds: Adapt your colors to holidays or special events. Think red and green for Christmas, black and orange for Halloween, or red, white, and blue for patriotic celebrations. You can also use cookie cutters to create shapes from set jello layers and embed them within a clear or white layer for a "stained glass" effect.
- Boozy Treats for Adults: For an adult-friendly twist, a portion of the cold water in your flavored gelatin layers can be replaced with spirits like vodka, rum, or champagne. This creates elegant and fun "jello shots" in mold form, perfect for parties. Remember to adjust the liquid ratio carefully to maintain setting consistency.
- Unique Flavor Pairings: Don't limit yourself to fruit flavors. Coffee gelatin layers with a creamy condensed milk layer offer a sophisticated dessert. Or combine a lemon jello layer with a blueberry-yogurt cream for a refreshing treat.
Mastering Your Jello Mold: Essential Tips for Success
Creating a perfect jello mold is more about technique than difficulty. Here are some indispensable tips to ensure your
jello mold recipe turns out flawlessly every time:
- The Right Mold Matters: While Bundt pans are popular for their intricate designs, silicone molds are excellent for easy unmolding. You can also use loaf pans, square dishes, or even individual ramekins for single servings. For detailed patterns, choose a mold with deeper, more defined grooves.
- Greasing is Non-Negotiable: Always lightly grease your mold with a neutral oil or cooking spray, even if it's non-stick. This thin film of oil creates a barrier, allowing air to penetrate and release the mold effortlessly.
- Patience is a Virtue (Especially for Layers): The biggest mistake in layered jello molds is rushing the chilling time between layers. Each layer must be *just set* – firm enough to hold the next layer without mixing, but not so firm that subsequent layers won't adhere. Typically, this is 20-30 minutes per layer.
- Gentle Pouring Technique: When adding a new layer, pour the liquid gelatin slowly and gently, ideally over the back of a spoon. This technique prevents the new liquid from "breaking" or disturbing the set layer beneath it, ensuring clean, distinct lines.
- Temperature Control: Ensure your colored gelatin mixtures are completely dissolved and then cooled before pouring. Adding hot liquid to a chilled, set layer can melt it. Similarly, the white creamy layer should be cooled to room temperature before pouring onto the set colored layer.
- Troubleshooting Unmolding: If your jello mold resists coming out, return it to the warm water bath for another 5-10 seconds. You can also gently run a thin, wet knife around the top edge of the mold to loosen it, but be careful not to damage the design.
- Storage: Jello molds are best enjoyed within 2-3 days of preparation. Store them covered tightly with plastic wrap in the refrigerator to prevent drying out and absorbing odors.
Conclusion
From vibrant rainbow layers to elegant, creamy concoctions, the
colorful jello mold recipe offers an unparalleled opportunity to bring joy and visual delight to your culinary endeavors. Whether you're aiming for a show-stopping centerpiece for a holiday feast or a simple, fun dessert for a weeknight dinner, the versatility and ease of jello molds make them an ideal choice. By following these tips and embracing a little creativity, you can transform simple gelatin into a dazzling, wiggly-jiggly masterpiece that will captivate and delight guests of all ages. So, gather your ingredients, choose your colors, and get ready to brighten any party or table with these wonderfully playful desserts!